
For at least the past six years, WordPress has launched a new free theme each year and has given the theme the name of the year of its launching. Twenty Sixteen is the new kid on the block, and I am trying that theme on a few of my blog sites.
I have always liked graphic designs that have a distinctive black and white flair, and with its broad black frame, Twenty Sixteen is appealing to me. Allow me to share a few things that I have learned about the theme Twenty Sixteen. In fact, join me, and I’ll help you switch your own blog theme, one step at a time. In case you want to launch an entirely new WordPress blog site, you will need to begin a few steps back.
To create a new WordPres Blog Site, do the following:
The WordPress Sign Up Form is Here
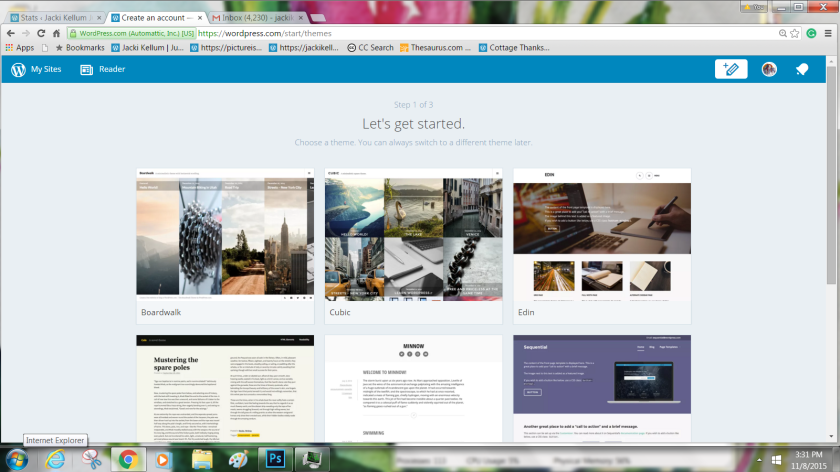
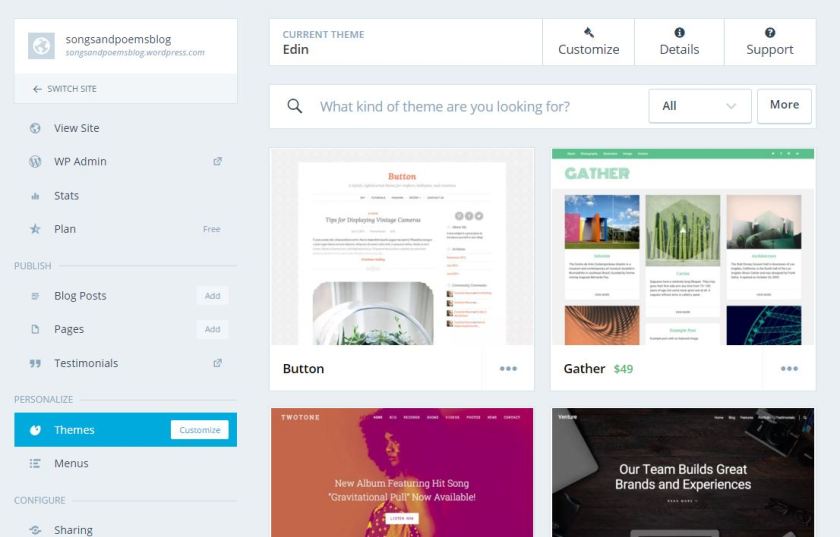
You will see the following screen and will be prompted to choose a theme. To begin, do not even worry about which site theme that you choose. Just be sure that the site does not have a dollar amount attached to it. Those sites are not free. Just to get started, click on Edin [on the top right] or any other.
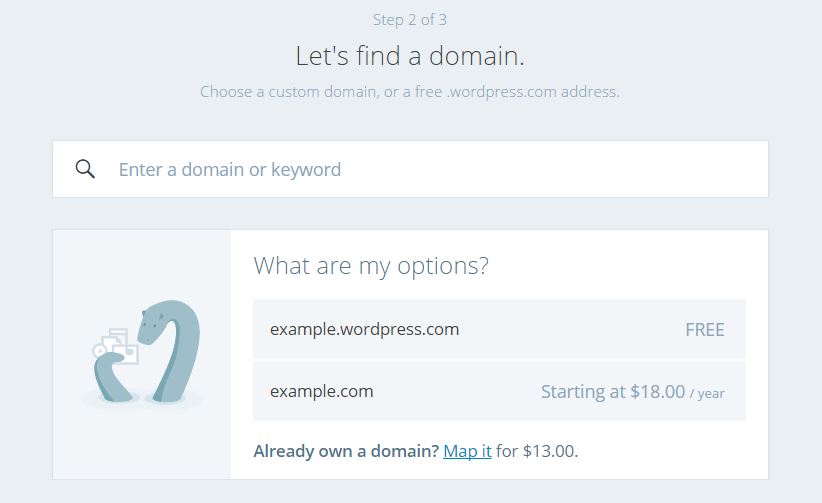
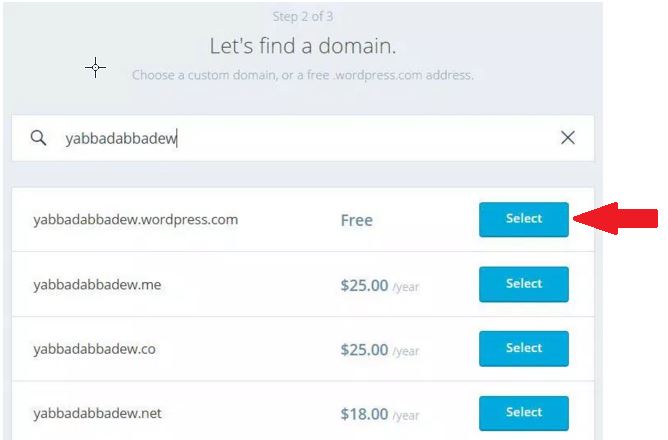
Where it says Enter a Domain Name, you will begin to TRY to find a name that has not been selected by someone else:
Type your desired domain name in small letters and with no spaces.
Initially, I typed: yabbadabbadbadoo
That name had been taken, and I tried again and typed yabbadabbadew. That name was available. If a name is available, you will see it printed and the word “Free” on the top line. You will be prompted to select that name.
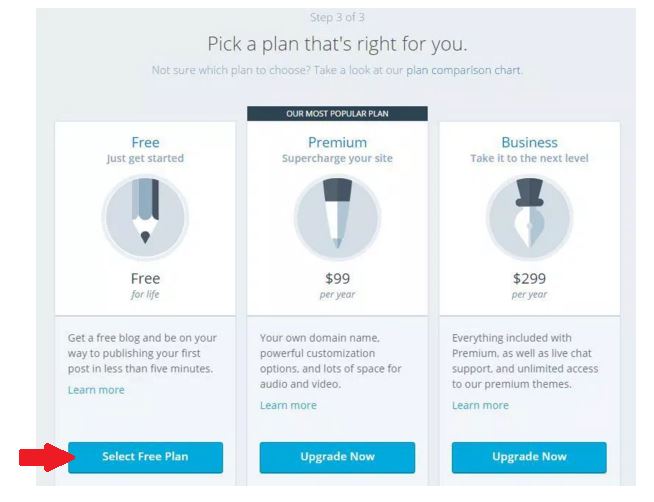
From the next screen, click on the blue box with the words, “Select Free Plan.”
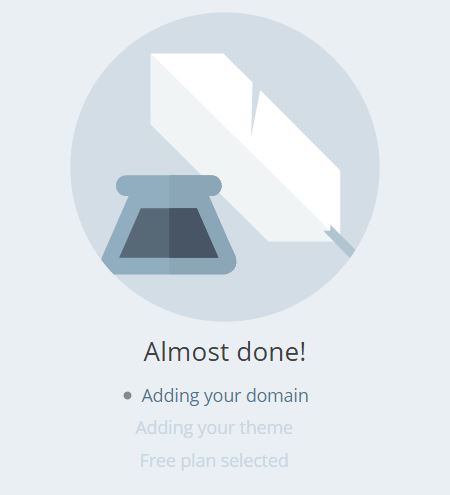
Next, you will see the following screen. Sit quietly and wait for a moment.
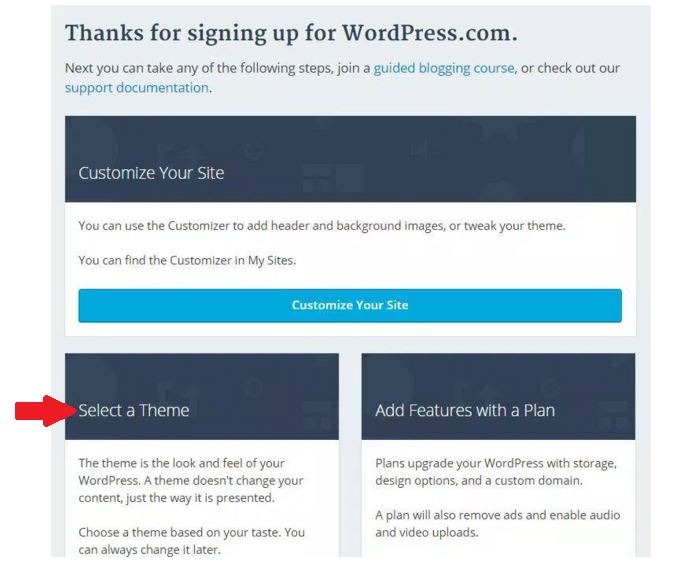
From the next screen, click on the dark blue box that says, “Select a Theme.”
Next, you will see the following screen.
On the above screen, type “Twenty Sixteen” in the box beside the magnifying glass. You will see the screen below:

At the top right of the next screen, click on the words, “Try & Customize.”

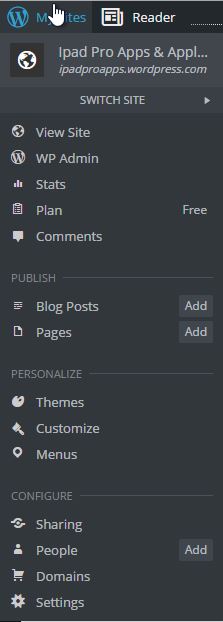
To begin customizing, click on the words “My Site,” which is on the upper left of your screen.
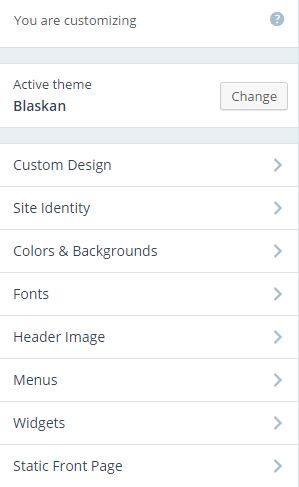
The following menu will open. Click on Customize.
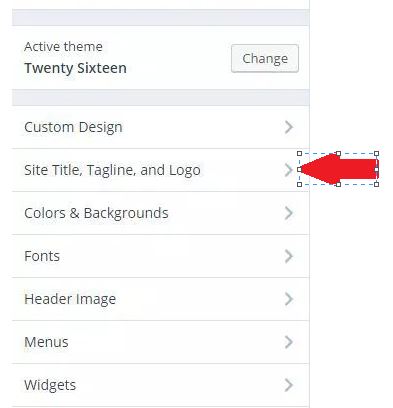
The following is the Customize Menu:
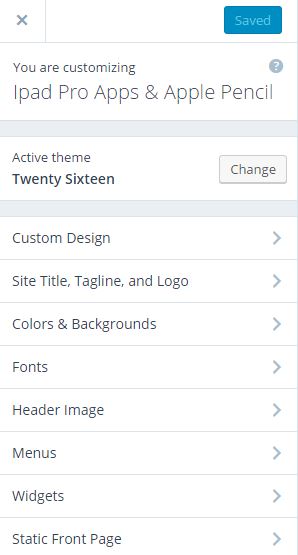
First, we’ll change the site title, click on the tab “Site Title.”
No doubt, you will want to change the way that your site’s title reads. Consider the title on one of my blog sites, the name of which is Learn to Draw Online. When I registered for that site, however, I had to enter the name as all lower case letters, without any spaces: learntodrawonline. When the site opened, I needed to change that. 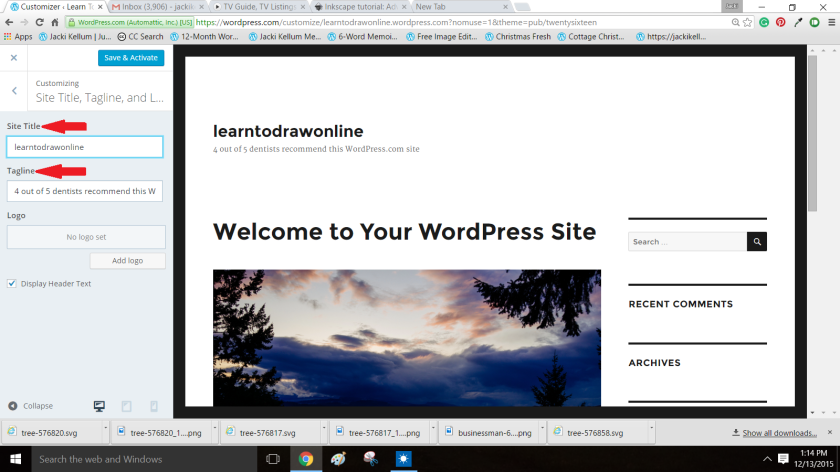
From the Customize menu, click Site Title, and in the top white box, type your blog’s name, as it should appear.
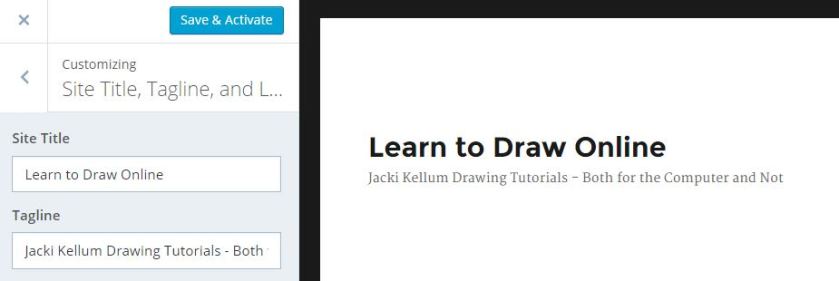
The Tagline is the extra stuff. On book covers, that would be the part that follows the colon–the afterword. The Tagline for that site is: Jacki Kellum Drawing Tutorials – Both for the Computer and Not.
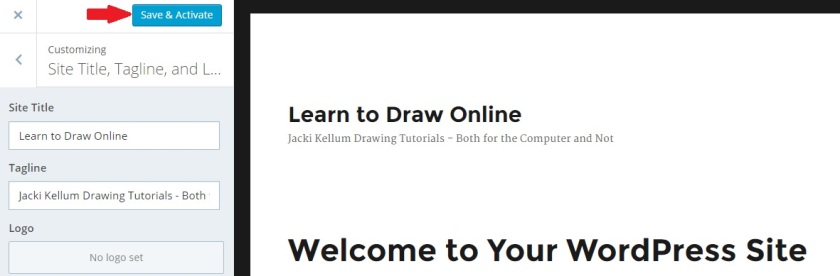
When you have typed your title correctly, click on the blue box that says, “Save & Publish.”
Next, I’ll Add a Header Image. Go back to My Sites and click on Customize and again, and then on the Customize menu, click on Header Image.
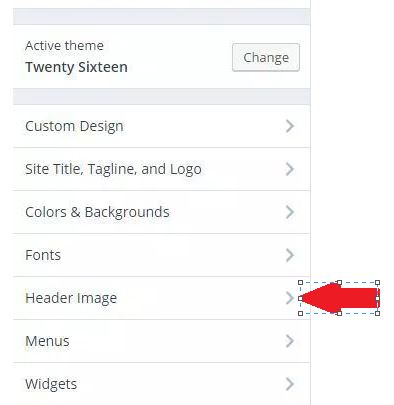

For Header images to work well on the Free WordPress Themes, they need to be created the correct size. The Header Image for Twenty Sixteen should be 1200 × 280 pixels in size. Because my image was saved as the correct size, I could merely click Crop Image at the bottom right of the screen.

————————————–
On the next screen, click Save & Activate.

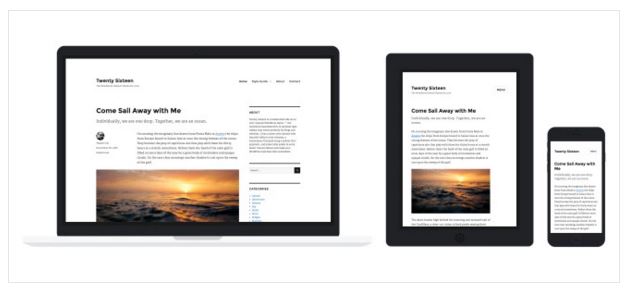
Twenty Sixteen is a Responsive Theme.
That means that a site created in Twenty Sixteen will look good on every screen that it is viewed.
 One of my favorite things about Twenty Sixteen is the ability to use Post Kickers.
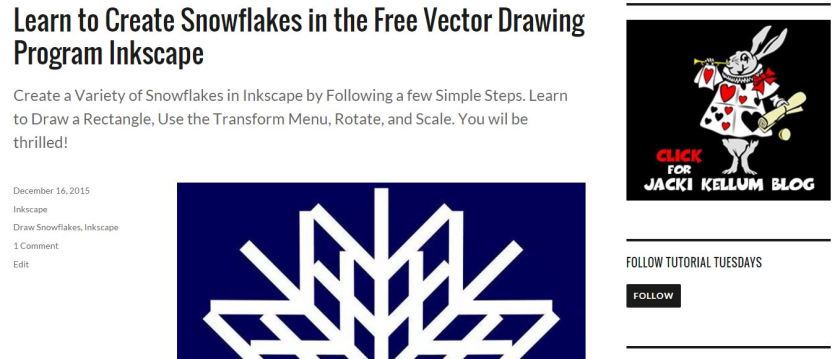
A Post Kicker is quick, introductory blurb about a post. It appears between the title and the body of the post. Post kickers allow potential viewers to dash across your site and to quickly determine what they do and do not want to completely read.
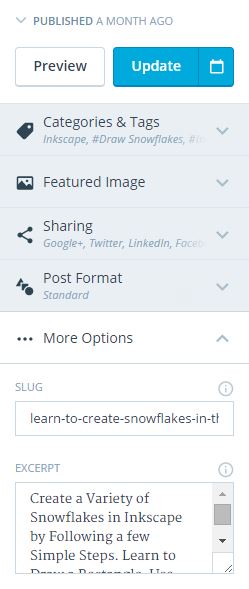
To insert an excerpt, click on “More Options,” which falls below the place where you add Categories and Tags–on the Edit Page. In the following image, the above kicker has been typed into the Excerpt box below.
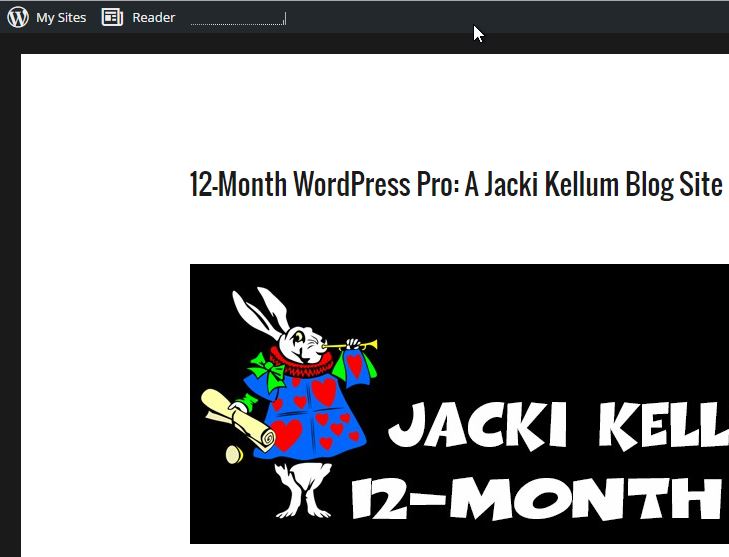
Here is how that kicker looks:
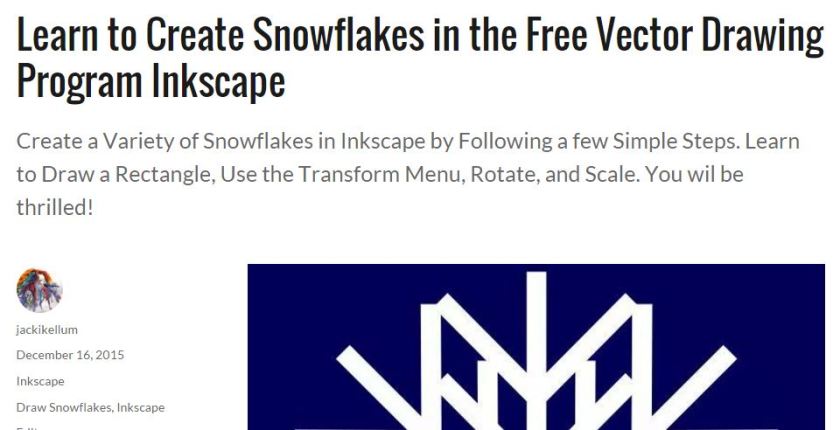
The actual post follows the image of the snowflake, and the post kicker precedes the image of the snowflake.

If you would like to learn how to create the snowflake shown in the Free Vector Drawing Program Inkscape, Click Here
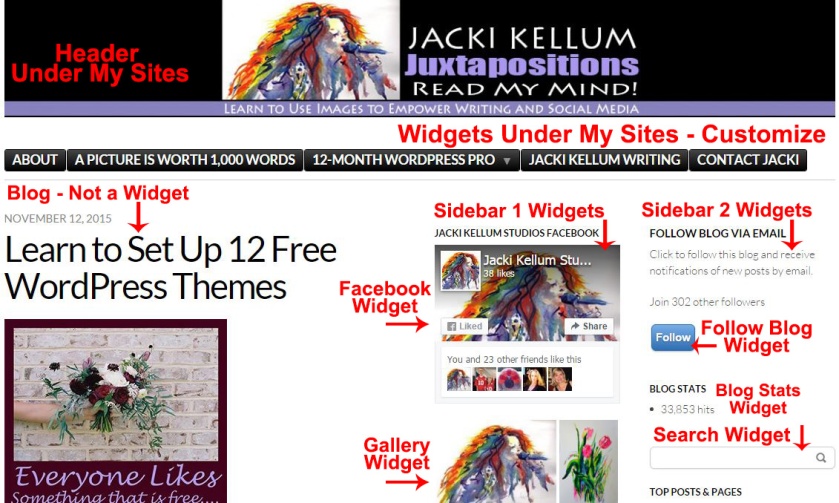
How to Add Widgets to the free WordPress theme Twenty Sixteen
To add widgets, click on the My Sites tab again. From the next menu, click on Customize again. From the next menu, click on Widgets.
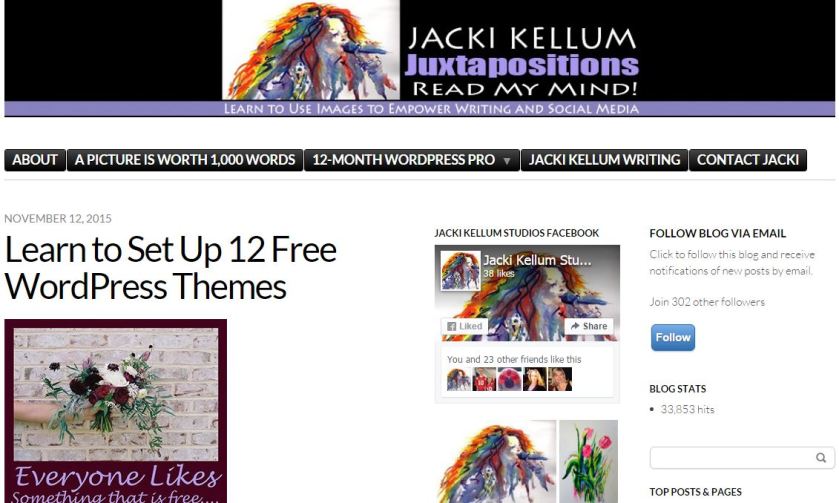
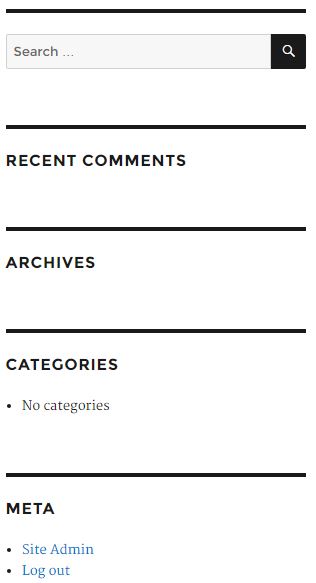
When you initially open a new blog site in the free theme Twenty Sixteen, the following group of default widgets will be on the right side.
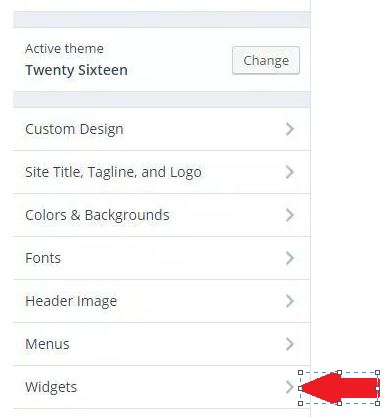
I began by removing a couple of the default widgets. When you click on Widgets [on the Customize Menu], you sill see the following:
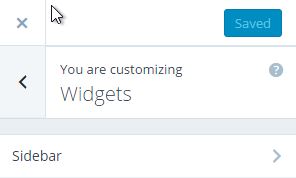
Click on Sidebar.
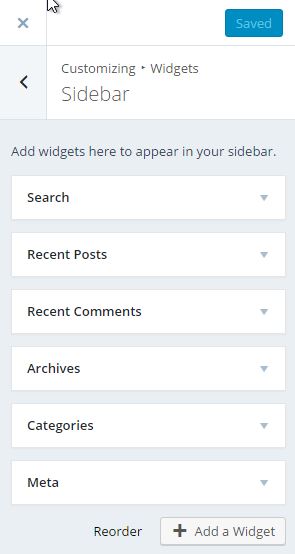
The first widget that I always remove is Recent Comments. I click on that widget in the menu.
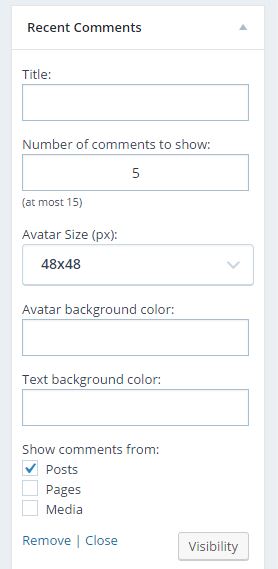
A menu for the Recent Comments widget will appear. On the bottom left of the menu, click “Remove.”
I follow the same procedure again, and I also remove Meta .
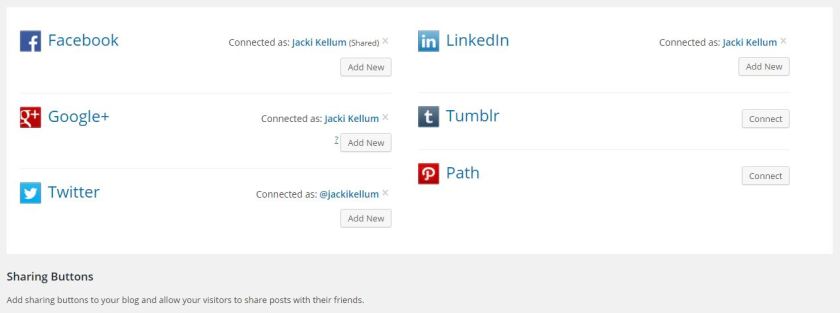
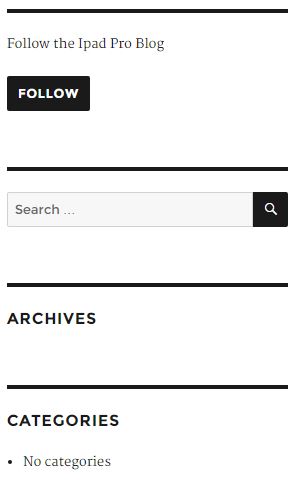
Next, I add a Follow widget. This will allow people to follow my blog.
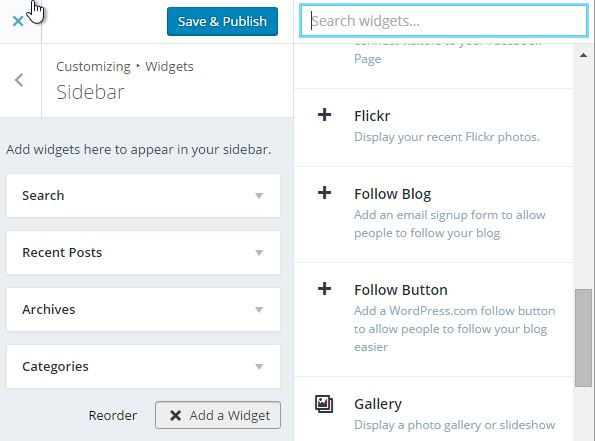
At the bottom right of the widget menu, click on the button “Add a Widget.”
Scroll through the widget options, I clicked the + beside Follow Blog. I filled the boxes as follows:
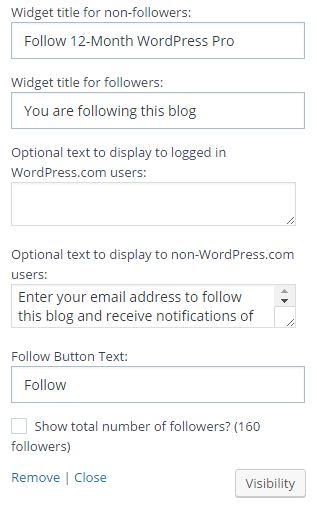
Because Follow Blog was added later, it initially appears at the bottom of the widgets.
With your mouse, click on the Follow Blog tab and drag it to the top of the list.
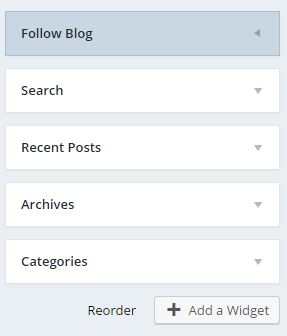
At this point, the Widgets area will look like the following:
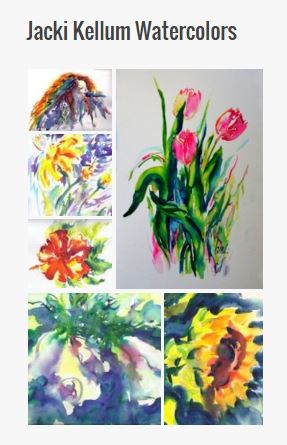
On various of my blog sites, I use 2 special types of widgets. One is a Gallery widget, where I can showcase some of my art. When a viewer clicks on one of the tiny thumbnails, a large version of the painting opens. To add a Gallery widget, click on Add Widget and select the tab Gallery. Follow the instructions to add you images and then Add the Gallery.
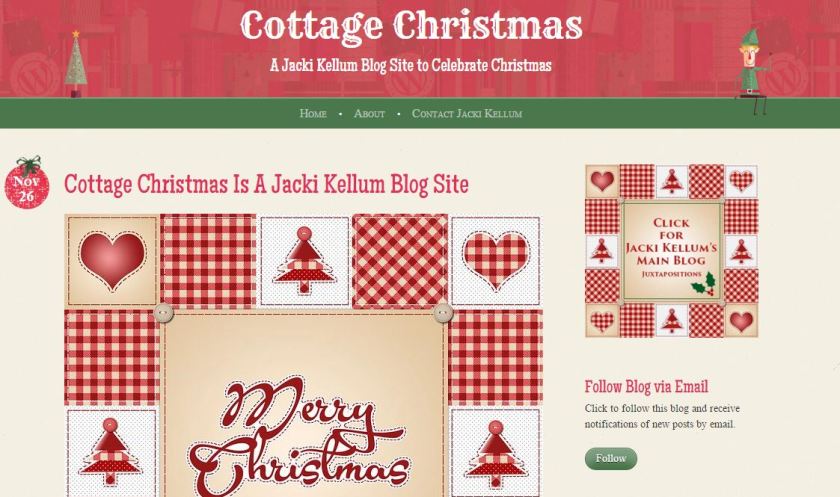
Another type of specialized widget is an image widget.

Before you add an image widget, you need to have a smaller image saved to your blog, as in a post. You actually add an image widget by clicking on Add Widget and then selecting Image. You can even add a URL address and the Image Widget will be hyperlinked.


 You simply need to set up a Free WordPress Blog
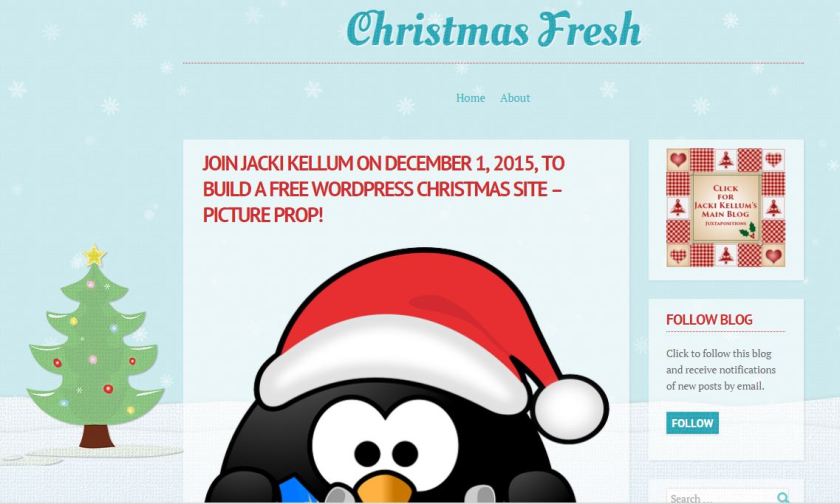


 12-Month WordPress Pro is a New Site
  The Twenty Ten Theme for November 2015,
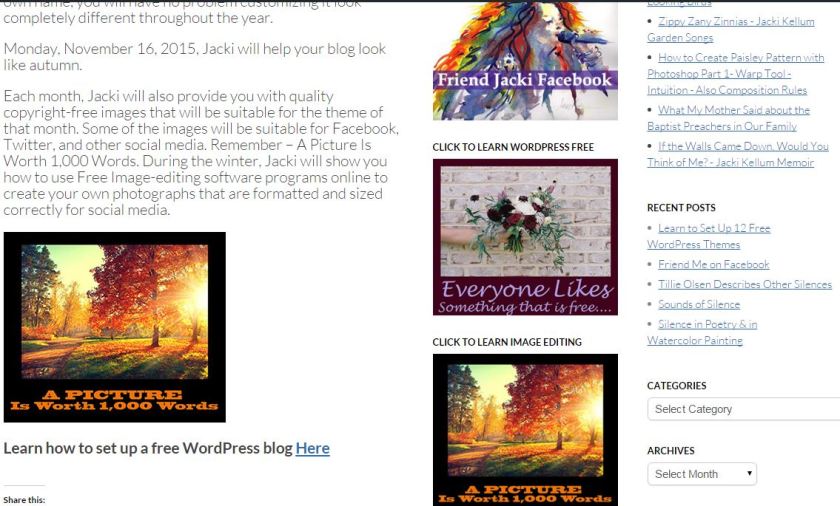
  A Picture Is Worth 1,000 Words
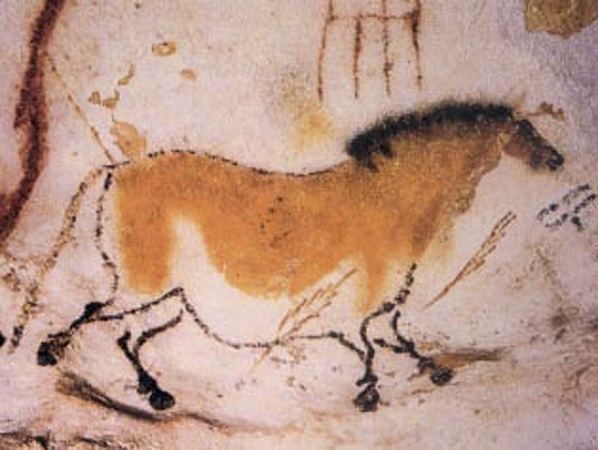
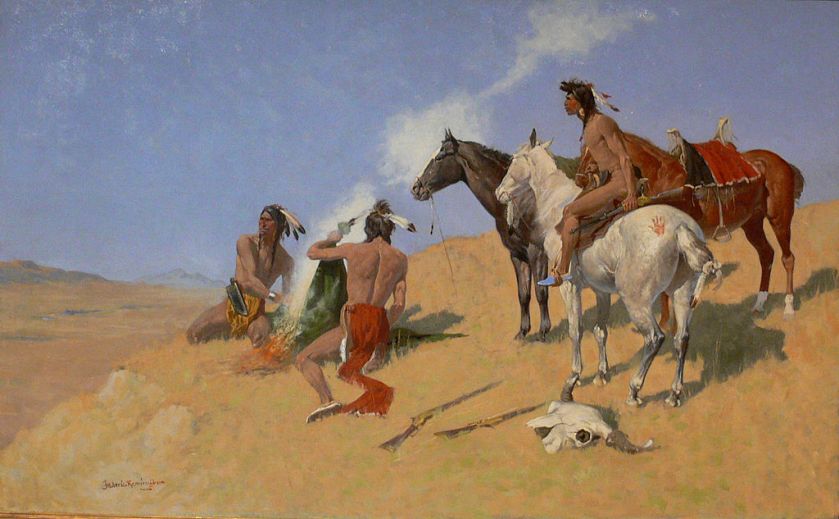